Circle skirt seam allowance guide by pattern edge
Choose waist, side-seam, zipper, and hem allowances separately and add each one at the correct drafting stage.
 Circle Skirt Calc Team
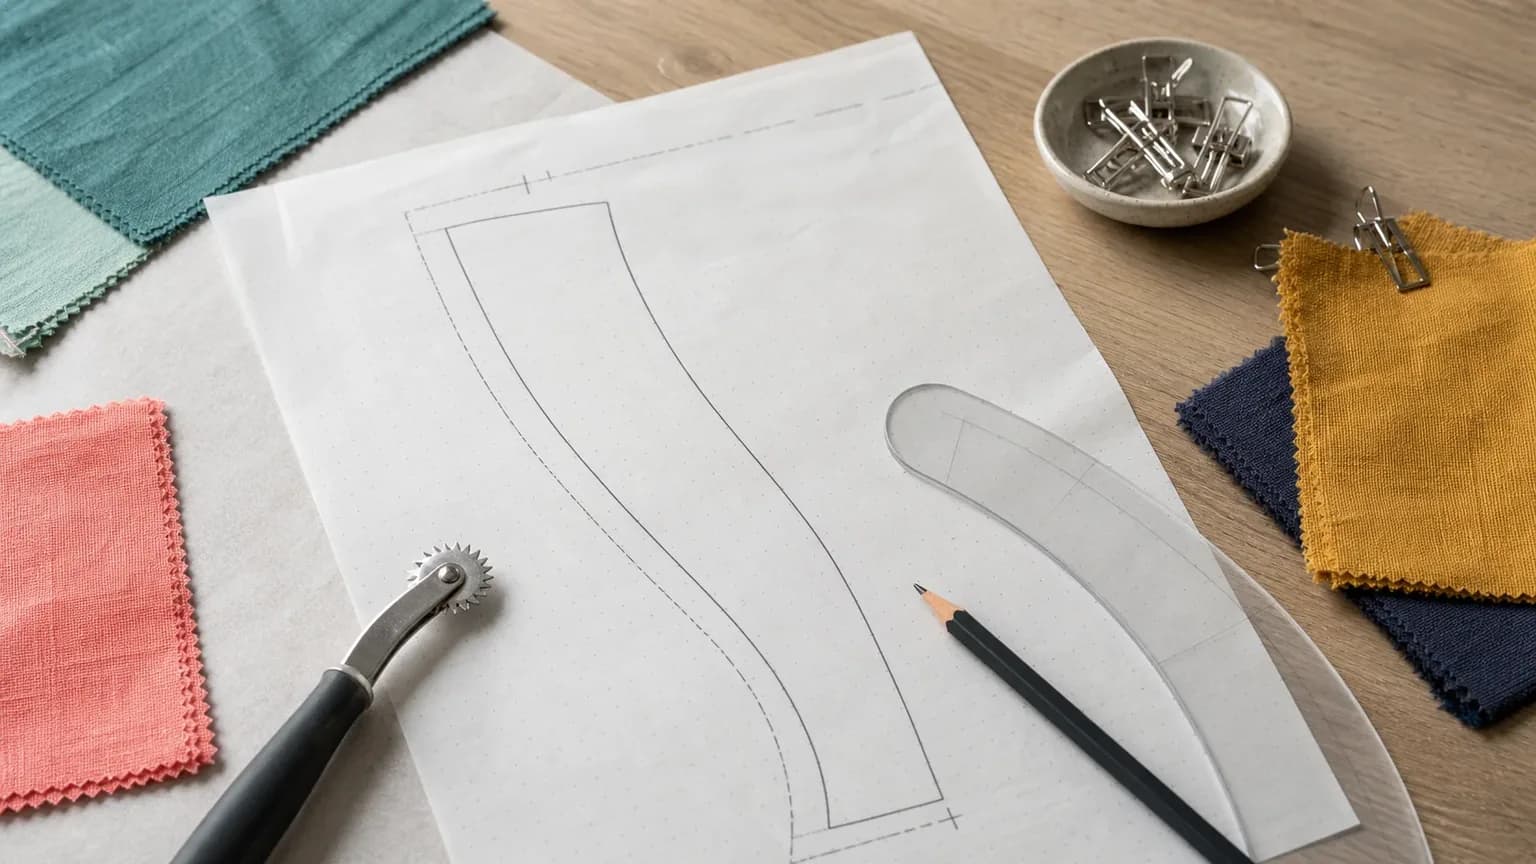
Add seam allowance only after the finished geometry is correct in the circle skirt pattern-making guide. Each edge has a different construction job, so one universal allowance is often a mistake.
Practical allowance table
| Pattern edge | Common starting range | Inches | Why it varies |
|---|---|---|---|
| Waist seam | 1-1.5 cm | 3/8-5/8 in | Curved control and waistband method |
| Plain side seam | 1-1.5 cm | 3/8-5/8 in | Fabric stability and fitting reserve |
| Zipper seam | 1.5-2.5 cm | 5/8-1 in | Zipper type and installation access |
| Narrow curved hem | 0.6-1.5 cm | 1/4-5/8 in | Curve severity and fabric thickness |
These are decision ranges, not mandatory standards. Test slippery, loosely woven, or bulky fabric before finalizing them.
Where to add each allowance
- Draw the finished waist curve and finished hem line.
- Mark actual panel seams; do not add seam allowance on a fold.
- Add waist allowance toward the waist curve's center, and panel seam allowance outside the straight joining lines.
- Add extra zipper allowance only to the seam holding the closure; see the zipper placement guide.
- Add the hem allowance beyond the finished length, using the dedicated hem allowance guide.
On the current full PDF, the waist curve and straight joining edges are seam lines that need those allowances added. The outer hem edge already includes the entered hem allowance, so do not add it twice. Follow the PDF documentation to print at 100%, verify the test square, and assemble the tiled template before marking cutting lines. The PDF pattern check covers the remaining checks.
Use the circle skirt calculator to establish the finished geometry and hem allowance, then mark the waist, panel, and zipper seam allowances separately on the pattern.