Circle skirt waistband sizing and construction guide
Calculate straight and elastic circle skirt waistbands without mixing finished waist, ease, overlap, seam allowance, or interfacing.
 Circle Skirt Calc Team
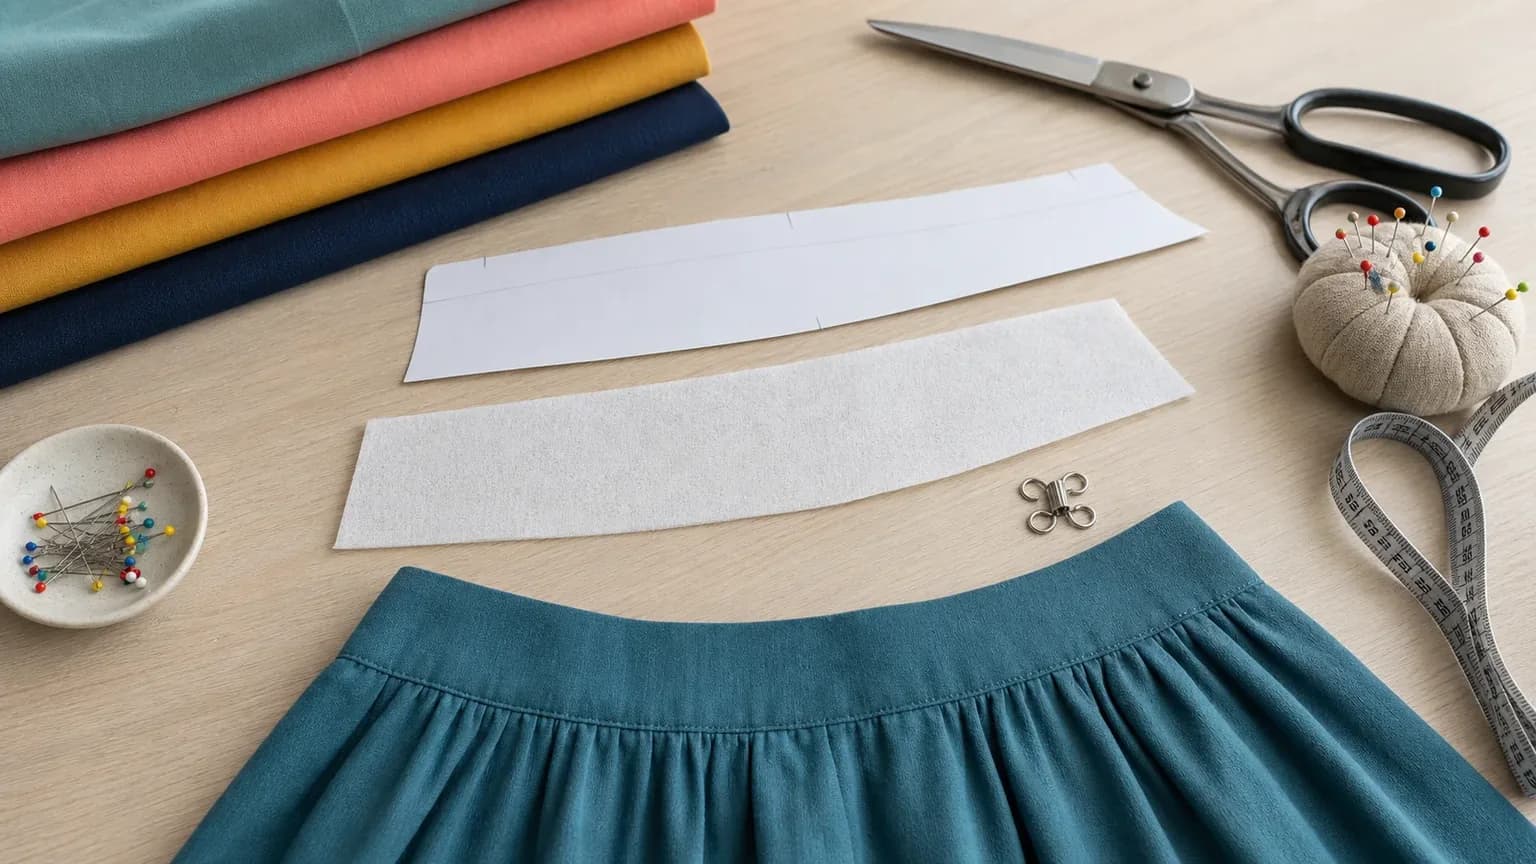
Choose the waistband after establishing the skirt opening in the circle skirt pattern-making guide. A waistband pattern must distinguish the finished waist, wearing ease, closure overlap, seam allowance, and interfacing.
Straight waistband example
For a 76 cm body waist, choose 2 cm wearing ease and a 3 cm button overlap. The finished band length is 76 + 2 + 3 = 81 cm. With 1 cm seam allowance at both short ends, cut 83 cm long. A finished 3 cm band folded lengthwise needs 6 cm plus two 1 cm long-edge allowances, so cut 8 cm wide.
| Component | Amount | Included in cutting length? |
|---|---|---|
| Body waist | 76 cm | Yes |
| Wearing ease | 2 cm | Yes |
| Closure overlap | 3 cm | Yes |
| End seam allowances | 2 cm | Yes, but not part of finished length |
Match the opening seam to the zipper placement decision, and stabilize the band with interfacing appropriate to the fabric. Interfacing changes support, not the finished waist length.
Elastic casing example
An elastic waist may need the skirt opening to pass over the hips. If the waist is 76 cm and the widest hip path is 98 cm, a 76 cm opening will not work without a zipper. Draft the opening for the hip path plus movement ease, then size the elastic from a comfortable body test rather than a fixed percentage.
The elastic-waist guide explains this opening-versus-elastic distinction. Confirm the original body values in the measurement guide.
Try the waistband tool to check a straight band's cutting dimensions or plan elastic construction. It is independent advice: its inputs are not saved with the skirt project and do not automatically adjust the skirt opening. Update the skirt measurements yourself when the opening must change, and keep the waistband or casing as a separate construction piece.